Home > Constructing SOAP with .NET 2.0 and WSE 3.0 > Sending Requests to CyberSource


Sending Requests to CyberSource

To add a Web reference to CyberSource, follow these steps:

  1. In the Solution Explorer, right-click the project node and choose Add Web Reference.
  2. In the Add Web Reference dialog box, in the URL field, enter the URL for CyberSource’s Web Service:
    Important: You must use separate transaction keys for the production and test environments.
  3. Click the Go button beside the URL field.
    Specifya web service reference URL.
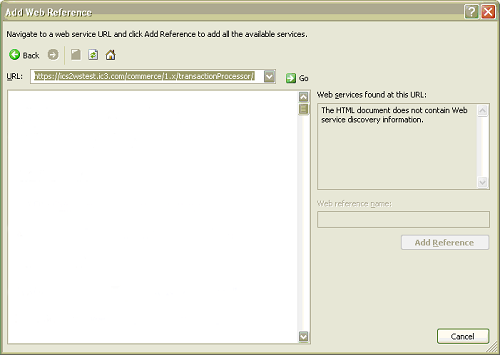
    The available server API versions are displayed.
    Theserver API versionsare listed.
  4. To display the content of the most current WSDL, click the top link.

    The next step, Step 5, is not required to run the application. However, if you decide to use a name other than CyberSource, use a name that is not associated with a particular server so that you can easily change between the test and production servers. In addition, change the import statement in the sample code using the following format, where myapp is your project default name space:

    import myapp.com.ic3.ics2wstesta;

  5. Change the name that is displayed in the Web reference name field to CyberSource. The Web reference name is used in the name space that you need to import in your code. For example, if your project's default name space is myapp, and you set the Web reference name to CyberSource, you will import myapp.CyberSource. Depending on the URL that you entered in Step 2, the default Web Reference Name in the field on the right side of the window is either com.ic3.ics2wstesta or com.ic3.ics2wsa.
    Renamethe Web Reference Nameto CyberSource.
  6. Click Add Reference.
    This generates the proxy classes that process the request and the reply.